Showing posts with label taxidermy art. Show all posts

Monday, September 9, 2013

The Faces of Progress

Just completed my fourth squirrel mount, which is also my fifth work of taxidermy for the summer! This piece, dubbed Wednesday,  I will confidently claim, turned out really really good:


Looking over the whole group, particularly the details of the faces, my progression in the hobby is most pleasing...lol to me. Perhaps most importantly, I am perfecting the early but vital step of removing the skin from the skull without damaging the inner ears, eyelids, whisker roots, nose and lips. Of these features, the eyelids are probably the most easily damaged and easily observable. On poor Lord Julius, for example, I skinned/fleshed the left side of his face respectably, but utterly butchered his right side:

Lord Juilius IV, Order of the StumpTail


Ouch!


However, Wednesday's eye-setting came out beautifully. Two distinct improvements in craftsmanship added to her success. Firstly, I carved the eye sockets much deeper into the mannikin before gluing the glass eyes in place. The epoxy-foam mannikins come with shallow eye sockets, but its up to the artist to detail them to the individual specimen in a (hopefully) realistic manner. The other new technique that worked well was stuffing the brow with tiny bits of cotton after I'd slid the hide more-or-less in place.


A few weeks after Julius, I got a roadkill connect that turned out to have been a lactating female with a pretty shitty quality pelt to begin with. However, for the sake of practice I took the animal and experimentally stuffed it pillow-style, without any sort of mannikin or wire frame, just to see what the final product would look like. She ended up essentially still looking like roadkill, but quite deserving of a place on the internet:


As for my third squirrel, I decided to get creative (I'm having a hard time convincing myself to make "normal" looking mounts) and pose him holding his own heart, preserved in a little jar. Thus, I carefully cut out his heart and preserved it in a small glass jar of 70% alcohol. The jar was an empty paint jar form the art supply store.  Now preserving rodent hearts in tiny jars is something I've been dabbling in since college. After 3 or 4 days/alcohol changes, the heart tissue, still submerged in EtOH, was fixed.

Things were going well on #3 until it was time to close up his ventral incision. The hide simply wasn't big enough, possibly because I'd gotten lazy and had let the hide dry out completely before rehydrating (soaking it in briny water overnight) and mounting it. But I was not discouraged, in fact this was the perfect excuse to make the final creation nice and strange. I debated between carving the exposed foam to look like the underlying anatomy or something a bit more.... whimsical.

With the recent success of FunnyBunny, I decided to take a similar route with this squirrel, i.e. to my trove of decoupage materials. A Victorian-like black & white flower-patterned sheet of paper was selected. I used just a small portion of the sheet and tore it up randomly to get the look I wanted. Next came the modge podging, which proceeded in two layers; a base layer of the less attractive paper scraps, followed by a select group of scraps carefully placed over the torso to give the impression of the rodent's original organs. In the end, it was a huge success:

He needs a name.


heart-in-a-jar

I carved him a pleasant smile.


And that brings us up to Wednesday, who is thus far the beauty of my collection. I crafted her in essentially the same manner as Julius; that is mannikin + cotton filler. In this case my boyfriend and I picked out an interesting mannikin in a climbing down, turning slightly to the left pose. One thing I prepped for was arm breakage. In this instance it occurred to me to try cutting off the mannikin's arms at the shoulders and inserting them into the skin's leg holes first. This actually turned out to be a great strategy and I was able to mount the hide fairly quickly.

There isn't much more to add to her story at the moment, though we are on the look out for the right base or log to put her on. Don't mind the cotton visible in the pics below, she's still drying. Other than some lower lip shrinkage and some hair-slip at the base of the tail, the finished piece looks fantastic. Wednesday also came with her own ear notches, which I think adds to her natural charm.


Friday, June 21, 2013

Facelift for a Classic Souvenir


We picked up this little fellow at a yard sale the other day. You may have seen these minimally processed dried pufferfish in sea shell stores at various ocean vacation locales. Typically, they are stuffed with cotton and finished with googly eyes, a string to hang them from, and/or a little straw hat. Come to think of it, I may have some left over from childhood lurking around my folks' house....


 This was a simple notion that sprung into my head several months ago. I was hoping to buy one of these dried puffers over the summer, but unexpectedly stumbled upon this guy instead. The idea is just to give him a "face lift" or change of expression by replacing the standard googly eyes with high quality glass fish eyes from the taxidermy supplier.


The first step was to clean him up with a damp paper towel. You can see how dusty he was in the first picture. Cotton was also spilling out of his mouth and had to be poked back down into his gullet. His tail fin had several tears in it and I was contemplating soaking the tail and trying to repair it, but decided to just leave it as is. Without knowing how the dead fish was preserved, I couldn't estimate how well it would tolerate full rehydration and clearly I didn't want to risk causing the piece to rot...


I carefully pried off the original eyes using a dull scalpel blade. Next, I tried out various pairs of glass eyes that had been ordered from a taxidermy supplier.  Several weeks beforehand I selected a dozen pairs of fish, reptile, and novelty eyes just to have around the house for when Inspiration hit.


In the end I chose 10mm alligator eyes because of their soft, green hue and slightly evil gaze. They were about 4mm larger than his googlies, and at first gave him a really bugged out appearance. It was obviously to me that they needed sockets, which I delicately cut out. All said & done, the whole craft took about half an hour and the results were quite impressive, in my opinion. His name is now Lord Puffington V.


Saturday, February 9, 2013

Humble Beginnings

As a child I was always fascinated by the macabre. My first encounter with taxidermy was in a bait & tackle shop with my dad. I don't recall exactly how old I was, but we'd walk into this shop and right in the entryway was a gorgeous stuffed mountain goat. He appeared to be strolling in, right along with the customers.You could dig your fingers into his thick fur, touch his knobby horns, or stare into his lifelike glass eyes. The store also had a full mount snarling brown bear, deer and moose heads and dozens of fish. But the trotting, friendly, white goat was my favorite.

My parents would take my younger brother and I to the Harvard Museum of Natural History  where I'd spend hours walking the collections of stuffed mammals, birds, insects, and ocean creatures. It was so impressive to see the exotic menagerie, but I wanted to know how They did it. "How does one stuff an entire tiger?" My 8 year old self vowed to find out...

20 years later & I'm in a good place. Stable income and a loving boyfriend who supports and even contributes to my strange hobbies.  He is an avid hunter (I've gone on a few expeditions as well) and has a chest freezer with several deer hides he wants to learn to tan and make into clothing. Thus, over the last few years I've been doing a good deal of self-directed online research into preserving hides and taxidermy techniques.

There are many steps involved in processing even a small animal hide. After slowly and carefully removing the skin from the body it must be salted, scraped or fleshed out, pickled in an acid bath, fleshed again, briefly re-pickled, neutralized, dried, tanned with more chemicals, rinsed, dried and worked in a manner that breaks the skin's protein structure to produce a soft, cloth-like material. And that's JUST for a flat pelt.  Molding and mounting the pelt over a pre-made animal form to create a "stuffed" taxidermy piece is another skill set entirely. So, suffice to say I learned pretty quickly that one does not simply Get Into taxidermy!


Wednesday, January 2, 2013

Happy New Year!

Resolution: to enhance my jewelry making skills and do at least 1 local artisan craft fair :)


First & second purchase round of beads.


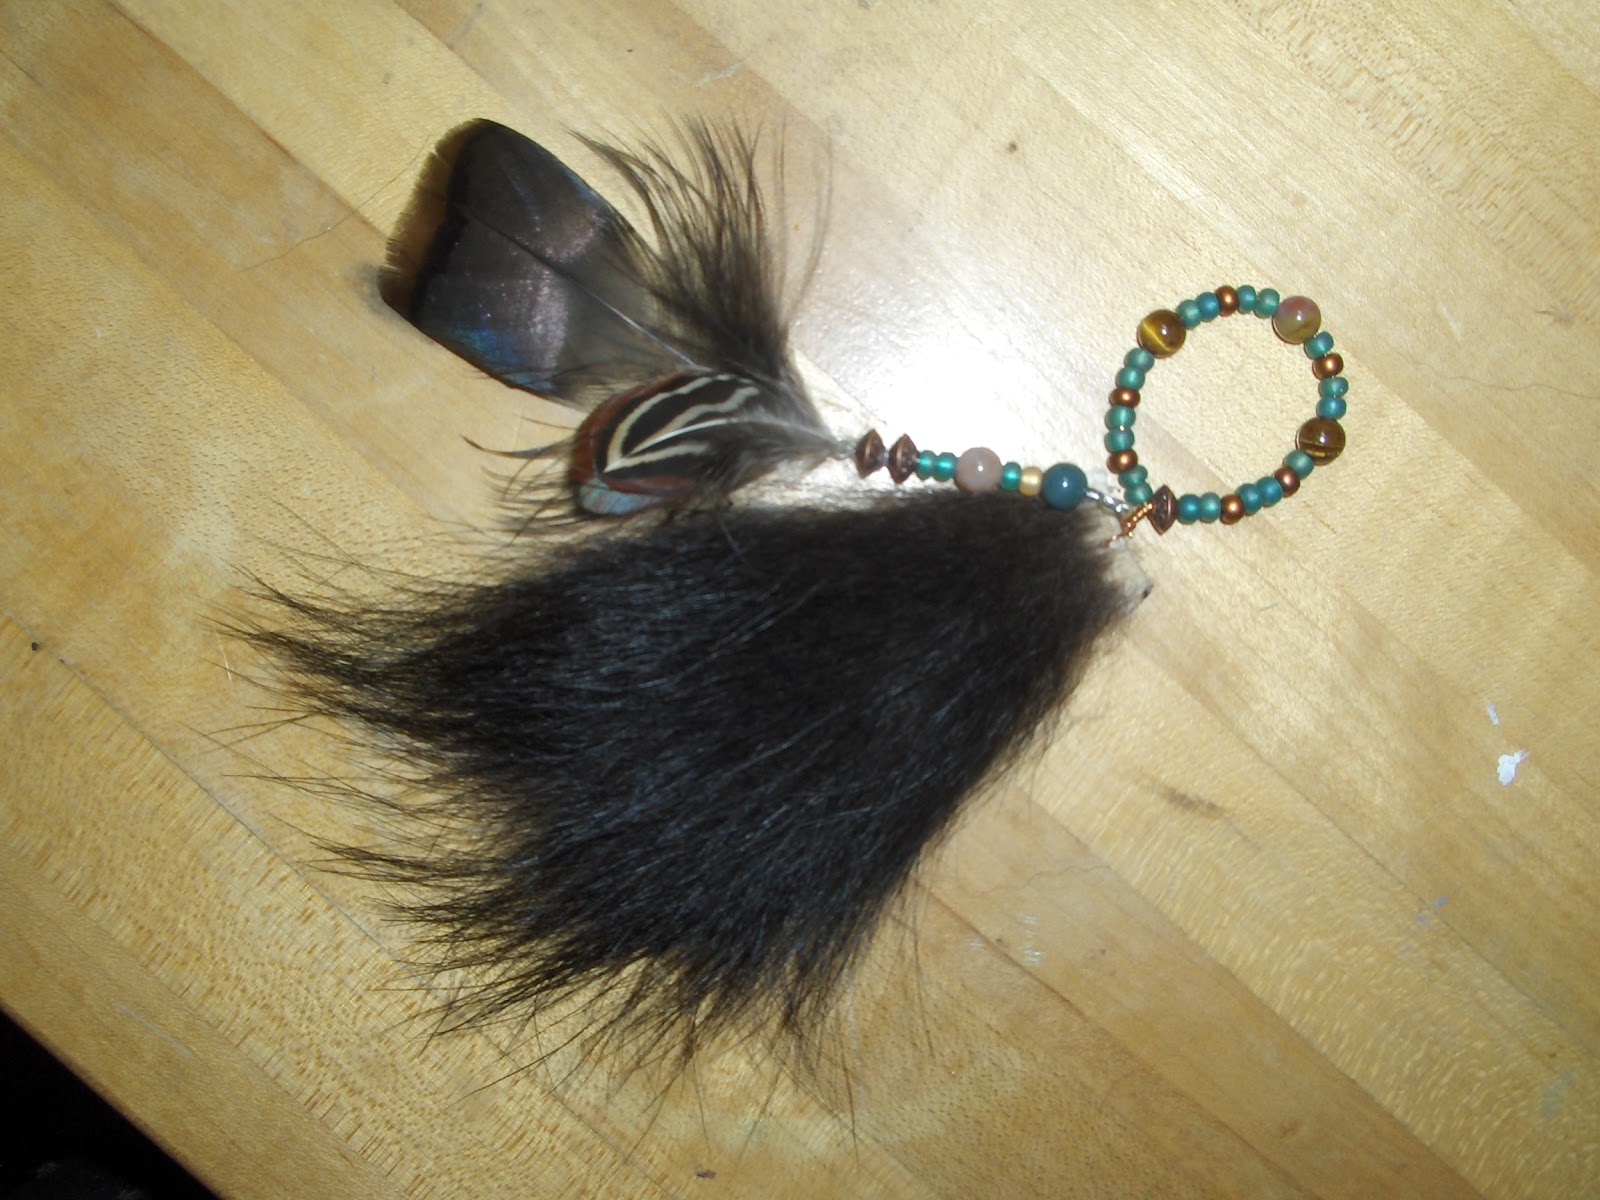
Home-leathered black bear hide charm. This is 1 of 7 charms I made from several small remnants cut from the bear hide hat my hubby & I are working on. It is detailed with one wild turkey and one pheasant feather. And, obviously, beads from the above photo. This piece, the largest scrap of the bunch, became a Christmas gift for my mom.


Another favorite. Green and purple jasper chip beads with copper spacers. Pheasant feathers.


Prototype & new-and-improved claw attachers.