I threw myself into chipmunks for the sake of an adorable little boy who hunted one down about a month ago. My boyfriend and I were actually visiting an old, local-ish, professional taxidermist who had made us a gorgeous black bear rug from last season. We visited his studio - a barn in the beautiful, autumn Western Mass countryside - and I was able to pick his brain about taxidermy methods and licsensure application info.
On our way out we happened upon the elder taxidermist's son and young grandson. The kid was proudly showing off the female chipmunk he just hunted with his own rifle. He pleaded with his grandpa to stuff it for him (his younger sister was horrified), but the man proclaimed "they're just too small, it can't be done. At least not by my old eyes." The boy was clearly dissapointed, but I excitedly jumped at the chance to prove my budding skills.
"I can do it!" And so I claimed my first true hunter and customer.
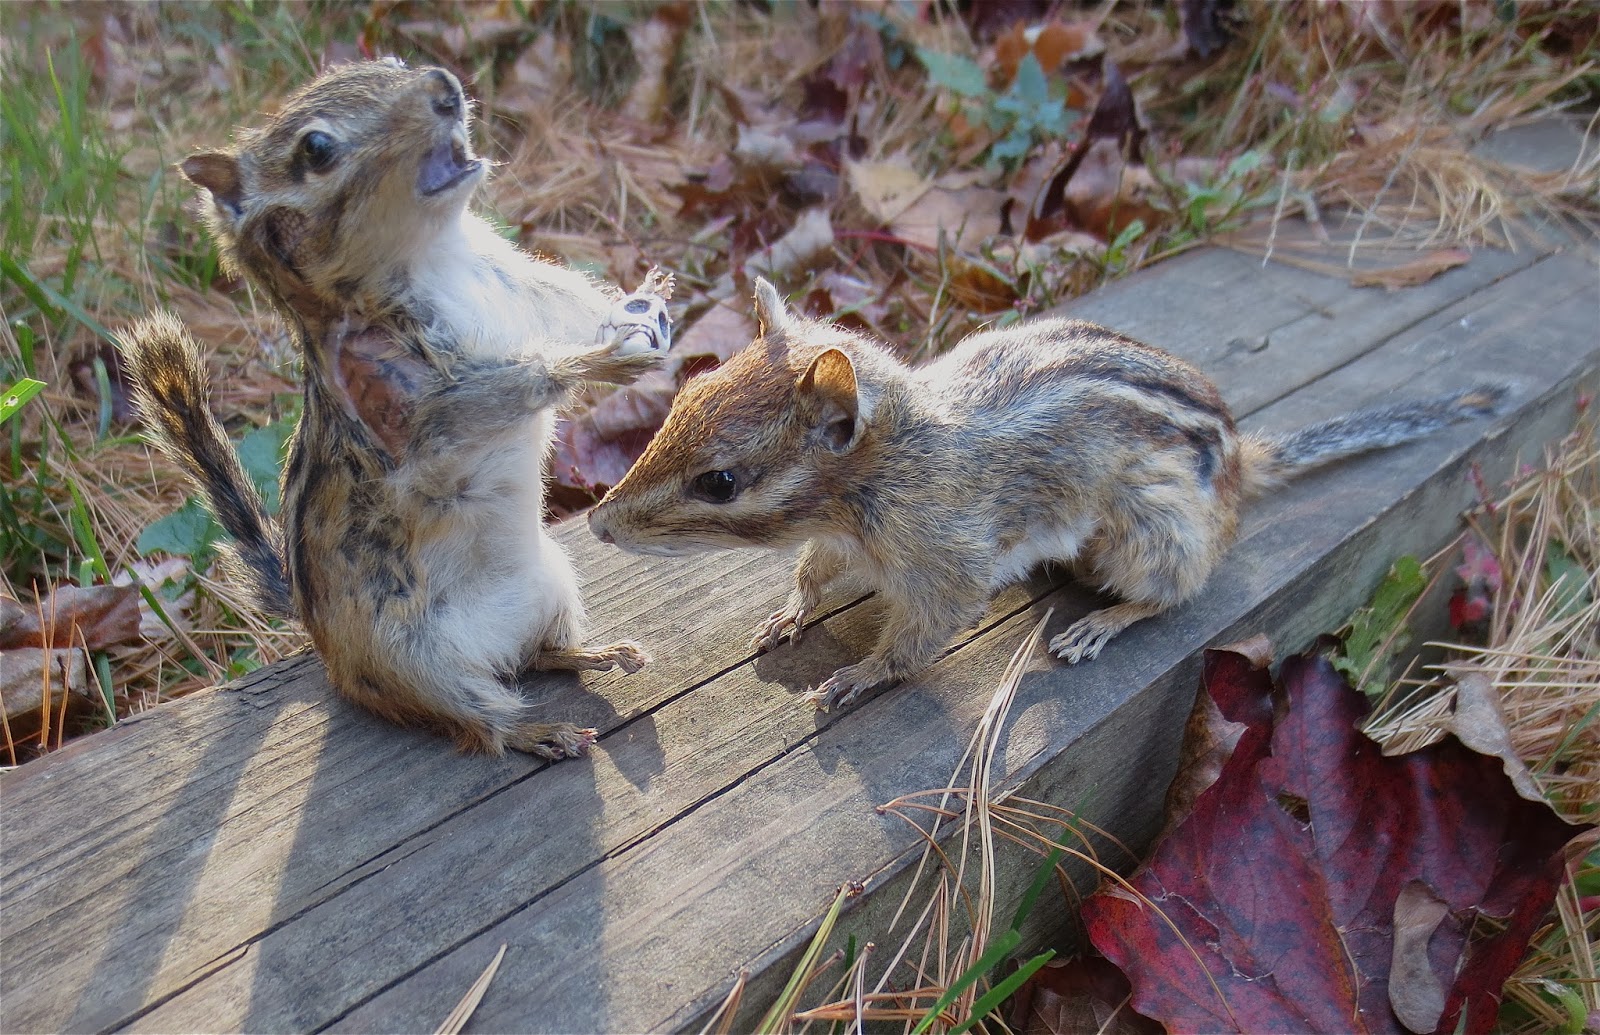
So for the past few weeks I've been working on eastern chipmunks
Tamias striatus. They are amazingly difficult to stuff successfully, given their diminutive size and thin skin. It was easy to see why even experienced taxidermists would avoid them. In 3 weeks, however, I was able to mount 3 chipmunks - 2 of which came out good enough to post pictures of!
The following is a general breakdown of my technique:
Make a plan: Envision what the final piece will (hopefully) look like by drawing a few simple sketches. Sketching helps me center myself and get into
art mode.
Organize your materials: Mannikins of several sizes, 'munk pelt, wad of critter clay, cotton balls, instruments, needles & thread. A few things I wish I'd put in this photo are: small paint brushes, paint, glass eyes, and a product called "bird foot injection fluid".
Figure out how to the get pelt on the mannikin: As far as I can tell, and even according to the pro I spoke with, this often involves breaking the legs off the mannikin. This time it occoured to me to make subtle notches in the limbs to help them fit snugly back together. The little boy's chipmunk also had a bullet hole in one of its arm pits which turned out to be a great place to insert the severed forearms.
After the forearms are in place carefully insert the rest of the mannikin. (in the case of these 'munks the hind legs didn't need to be removed.) This is a difficult step and it is easy to fuck up and tear the wet skin or rip the fur out.
Carve out the eye sockets of the form, insert black bubble eyes.
Using a combination of clay and cotton balls, I built up the brow, under eye, nose, ear bases, whisker roots, cheeks and lower jaw. Using tweezers I insert small balls of clay or cotton under the wet skin and work them into shape. This is my favorite part of the taxidermy process; trying to create a lifelike expression.
However I'm still trying to learn to add enough clay compensate for the natural shrinkage that occurs as the mount dries. Their faces look perfect at first, but begin to warp and tighten over the first several days post-creation. Adding to this dilema, when the skin is first mounted (and I double checked this with our bear rug maker) it should be sopping wet and workable, that is, saturated with water and slightly pudgier than it would be if still alive. Maintaining the look of realism through out the wet-to-dry process still needs to be mastered.
So.... I got lazy stopped taking pictures of the final steps. That can wait for future posts. What's missing are positioning the paws and tail with clay and wire, injecting foot-preservation fluid (smells awful, a mask must be worn) into the paw pads, and painting a bit of color around the mouth and eyelids. Time it sit back and enjoy the fuzzy fruits of my labor. Thanks for reading :)
 |
| This one's pelt ripped. Patched it up with chicken-patterned paper. |
 |
| Spooky & Kid Stuff |